Foodie's Guide to Eating Well

Thoughts on food, cooking, and dining out

Tuesday, October 26, 2010

Dirty Little Secrets

We all have our secrets. Mine? I'm lazy. Like, real, real lazy. I love good food and I love making good food, but what I love even more is making easy good food. If I see a delicious-looking recipe with less than 10 ingredients and a small handful of steps, I'm in.

So, when I stumbled across a recipe for Mexican-style stuffed poblano peppers that you make in the microwave, I was psyched. It lived up to being just about the easiest meal that I've made all year.

The result? While not straight-up amazing, they were very, very good. Next time I don't have a lot of time, but I'd like a tasty home-cooked dinner, these will be an obvious choice.


Let's get started... cut four poblano peppers in half. If you want a mellower taste, get as much of the seeds and ribs out of the peppers as possible. The seeds, in particular, are fairly potent.


Lay all of the peppers, cut side up, on a large plate. Cover with a sheet of wax paper and microwave for three minutes.


While the peppers microwave, mix together a package of microwave rice (or about two cups of cooked white rice), a can of refried beans, and a half cup of salsa or picante sauce.


Fill each of the pepper halves with the rice and beans mix. Cover with the wax paper again and microwave for two minutes.


Uncover the peppers, sprinkle them all liberally with a shredded Mexican cheese mix. Microwave for another one to three minutes, until the cheese melts.


Toss a little chopped cilantro on top and that's it... I swear. It is THAT easy.


Sit down, eat up, and be lazy.

Labels: , , , ,

Saturday, October 23, 2010

S5

Let governments have their G5... I'll take my S5 any day. A morning trip to the Roslindale Farmers' Market left me inspired to create a sandwich based on the four basic elements of taste - sweet, salty, sour, and spicy (the common expression for the fourth taste is "bitter," but, well, that has negative connotations and it doesn't fit into my "s" theme). So, I present the Sweet, Salty, Sour, Spicy Sandwich, or the S5 for short.

The elements that I've chosen for the S5 are fromage blanc, bacon, pears, honey, and arugula. Every last bit of it is local, from small Mass farms, which makes it all the better.


This sandwich requires a little prep, so it makes for a good weekend lunch. All in, it takes about 15 minutes to prepare... the amount of ingredients below is for two sandwiches.

Cook up four slices of bacon... this is your salty. These succulent looking strips come from Spring Brook Farm in Littleton, MA. Farm-fresh bacon is ridic delicious, but it cooks up fast due to a lower amount of preservatives - so watch it. You'll see that I overdid mine.


While the bacon is cooking, wash your arugula. Arugula has a great spicy bite, which is going to create the perfect balance in this sandwich.


Next, let's work on the sweet... peeled, sliced pears. Any variety of pear will work, just choose your favorite. Try and make your slices thin, but, unless you're competing on the Food Network, don't sweat what they look like - they'll be all tucked into the sammy and no one will notice.


Finally, slice up your bread. For this sandwich, I chose a fresh baguette from Fornax Bakery. Again, you can choose any hearty bread or roll that you like. However, I trust that I don't need to tell you that - when it comes to sandwich making - there is no single element more important than the bread! Make sure you are choosing the best bread you can get your hands on. This means, do not be lazy and put this on Wonder Bread. Go to your local bakery, for goodness sakes.


Ok, we're ready for assembly! Slather both sides of the bread with a soft cheese - this is your sour. I chose Fromage Blanc from Foxboro Cheese Company. It's made with raw milk and you can taste the farm in every curd. This cheese is sick good. Even the Boston Globe says so.


Now, layer cooked bacon strips on each half of the bread, topped with the pear slices. Finally, lightly drizzle honey over the pears. When I am particularly passionate about a certain ingredient, I'll let you know - this is one. Make the investment in quality honey - you will notice the difference! The one I use from Oxbow River Bank is so sweet, light, and floral, it reminds me of why the ancient Greeks spoke of honey in their odes. Seriously, it's that good.


Pile on a handful of the arugula and you are good to go! Thank goodness - I can't wait to eat!


If you are an exceptionally nice spouse (!), you'll save one of the sandwiches for your husband who is out washing the car. However, if you end up eating them both, no one needs to be the wiser.


Dig in!


This sandwich is a little more work than slapping some peanut butter and jelly on some bread (which, don't get me wrong - I totally enjoy once in a while), but it's a great weekend treat and an awesome example of how far you can take the bounty of local ingredients - even in New England in the fall! Enjoy.

Labels: , , , ,

Sunday, October 17, 2010

Go green.

These days, everything is about being more green. Lest I be left behind, I thought that I'd dedicate a post to going green. In my case, it might be more accurate to say, "greens."

Those who know me, know that I am mildly obsessed with Boston Organics. One of the reasons that I love Boston Organics is that it turns your kitchen into a mini (non-televised) version of the Iron Chef. Basically, they're going to throw some unusual fruits and veggies your way (with Boston Organics, you can set up a "no" list for any types of veggies you really don't enjoy, but otherwise you get a mixed box, which changes from week to week, depending on what's fresh and available), and you need to figure out what to do with them.

I love leafy greens, but when it came to cooking them myself, I was pretty much a one trick pony - sauteed spinach with garlic. Now, I still love that dish, but thanks to Boston Organics, I've been forced to try my hand many different kinds of greens - chard, kale (lots and lots and lots of kale), dandelion greens, and more. Recently, I've received a few bunches of collard greens and have been refining a braised greens recipe that's quite good... details below. This overall recipe is adapted from a recipe in Cooking Light - my all-time favorite source of cooking ideas.

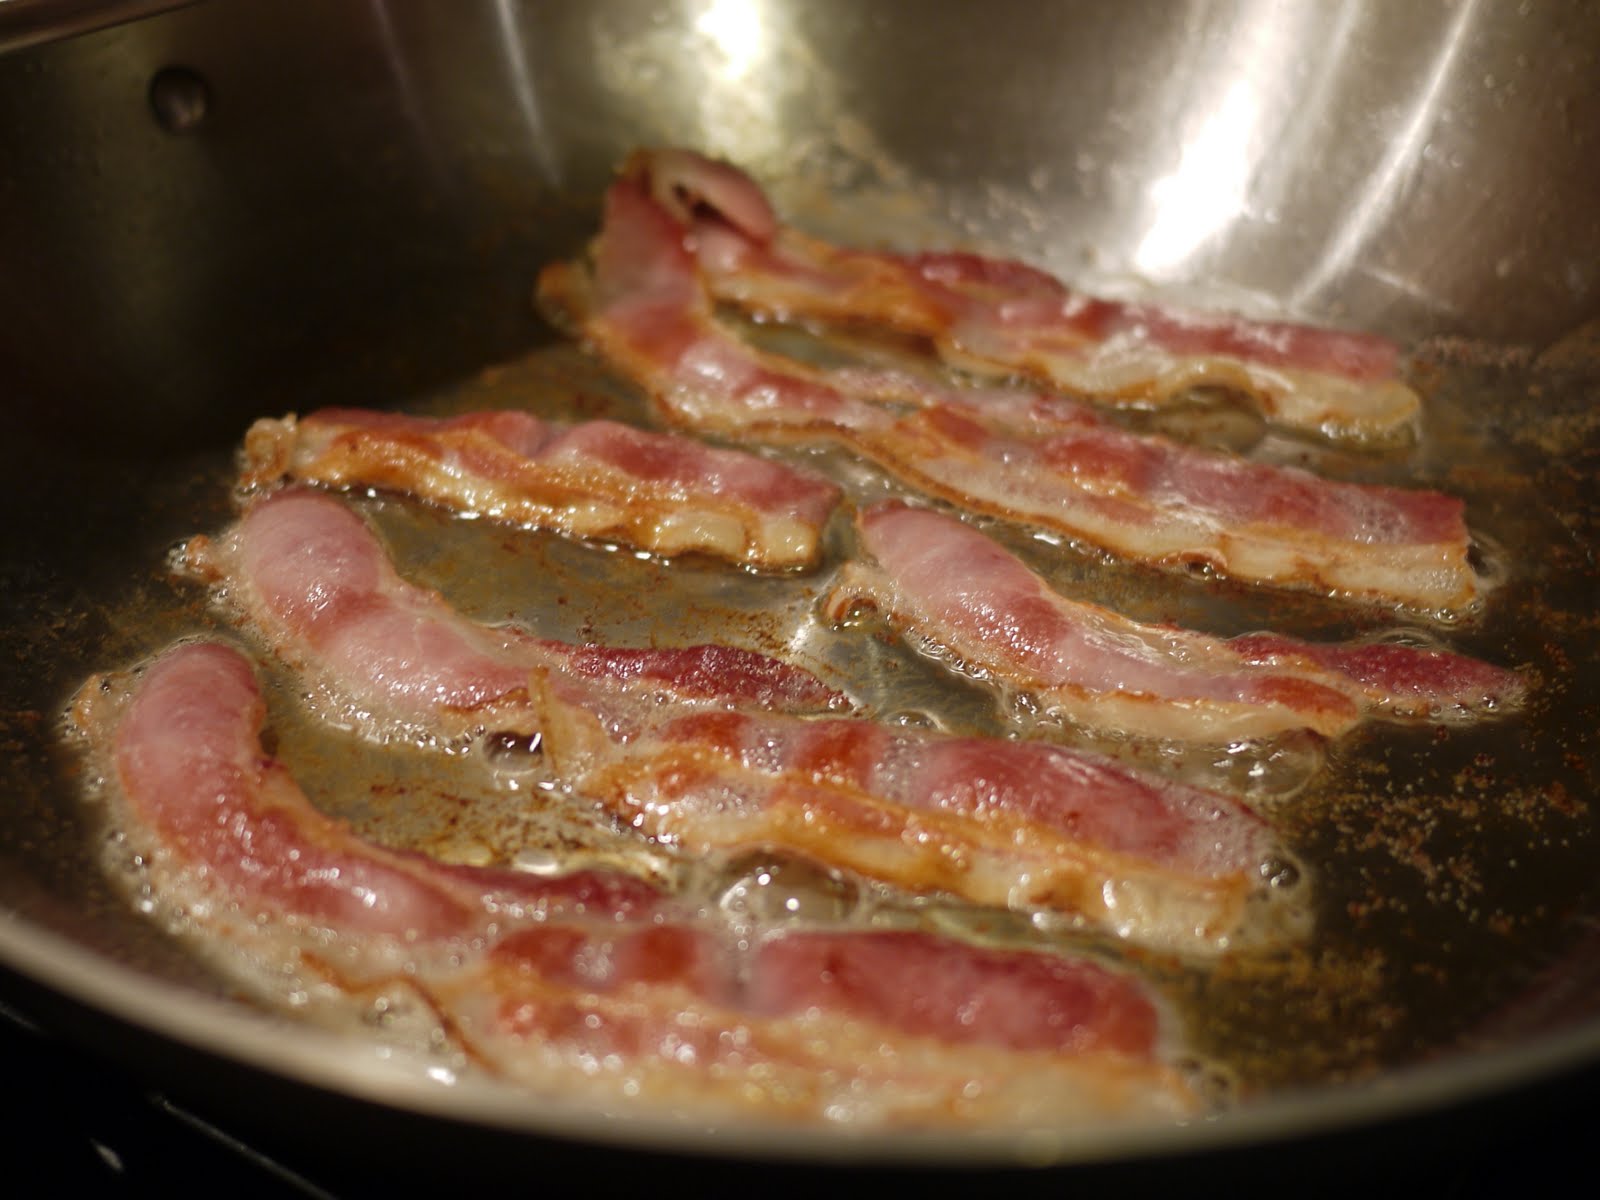
I think it goes without saying that, anything made with bacon is better. Fry three to five strips of bacon in a large pan or saute dish.


While the bacon is cooking, chop up a large bunch of collard greens (or, any hearty green will do) and a small to medium yellow onion.


Take the cooked, crisp bacon out of the pan and let some paper towels absorb some of the sinful (but delicious) fat. If, at this moment, you are thinking to yourself, use of paper towels isn't very "green," I couldn't agree more. I'm actually really good about using cloth napkins and towels most of the time, but nothing really does the bacon absorption job like paper towels. Suck it up and do it.


Now, throw in those chopped onions and get them sauteing - no additional oil or cooking spray needed. They'll cook up nice and yummy in the bacon fat. Did I mention... mmm, bacon?


When are the onions done? More or less, when you say so... onions sauteing on medium heat are pretty forgiving. You want them tender and somewhat translucent. Two to five minutes should do it. Onions in this recipe will come out a little brown due to cooking in the bacon drippings.


Now, the dry seasoning go into the pan. Again, this is more or less to taste. About a 1/2 teaspoon of salt and a 1/2 teaspoon of red pepper flakes (less if you have a sensitive palate; I wouldn't use more the first time you make this... get a feel for it, then amp it up if you want). Get this in with the onions and give a stir and let it cook about 30 seconds - not too much longer. Basically, you want the dry spices in there long enough for the red pepper to heat up and allow it's oils to start giving off some spice, but not too long for the salt to start making the onions sweat.


Toss the greens in the pan and give everything a stir... get the leaves coated with the onions and spices and begin to cook them down for just a minute or two.


Time for the liquids... these go in all at once. A cup of chicken stock, a half cup of water, a quarter cup of wine, and a tablespoon of vinegar. I always use good organic stock from the store (if you have homemade, great, but it's not needed). You can also use either white wine and white wine vinegar, or red wine and red wine vinegar, but try and keep them the same color - you'll see below that I totally violated this. My number one rule with cooking - just go with what you have on hand.


Chop up two or three strips of the bacon and throw that in as well. Keep the heat on medium low, give everything a stir, and cover.


No peeking! Oh, who am I kidding. I obsessively check on my food every minute or so when it's cooking. I'm just so excited to eat it at this point!


While it cooks, chop up the other strip or two of bacon. The bacon that is cooking in with the green will imbue it with great flavor, but it will soften in the liquid. I like a crispy bite of bacon in this dish, so I reserve a little to sprinkle on top.


Now, all greens are more or less cooked the second they wilt in the pan or cooking liquid and most cook up pretty quickly (like two to three minutes quickly). However, heartier greens like these collards can withstand more cooking. In the south, they cook collards TO death. They are delicious too, but I prefer mine with a little crispness. I let these guys mellow out on low heat about 25 to 30 minutes. When they have that slightly mustard-y - green color, they are good to go.


Serve this yumminess alongside anything you like! Tonight it was grilled turkey tips for us.


Hope that this inspires you to try new greens sometime soon. Most are very easy to cook, and they're good for you and delicious! Seriously, what more could you want from a food?

Labels: , ,